Completely isolated tenants using Docker
Until this chapter we have separated the tenant data, but the app server has been common between tenants. In this chapter, we will complete the separation using Docker, each tenant app code runs it own container and the tenant.
Tools we will use
- Docker to build the app code image and run the containers
- Docker-compose to define and run the containers for each tenant
- Nginx to route the requests to correct tenant container
- A separate Postgres database (Running inside a docker container) for each tenant
- A separate app server (Running inside a docker container) for each tenant
Building a docker image from our app code
As the first step we need to convert our app code to Docker image. Create a file named Dockerfile, and add this code.
FROM python:3
ENV PYTHONUNBUFFERED 1
RUN mkdir /code
WORKDIR /code

# Install requirements
ADD requirements.txt /code/
RUN pip install -r requirements.txt


ADD . /code/
# We will specify the CMD in docker-compose.yaml
With this, run docker build . -t agiliq/multi-tenant-demo, to create an image and tag it as agiliq/multi-tenant-demo.
Using docker-compose to run multi container, multi-tenant apps
As in our previous chapters, we will have two tenants thor and potter at urls potter.polls.local and thor.polls.local.
The architecture looks something like this:
                                           +---------------------------+            +---------------------+
                                           |                           |            |                     |
                                           |                           |            |                     |
                                     +---->|        Thor App Server    +------------>     Thor DB         |
                                     |     |                           |            |                     |
+----------------------------+       |     |                           |            |                     |
|                            |       |     +---------------------------+            +---------------------+
|                            |       |
|                            |       |
|                            +-------+
|     Nginx                  |
|                            |             +---------------------------+           +----------------------+
|                            +------+      |                           |           |                      |
|                            |      |      |                           |           |                      |
|                            |      |      |     Potter App Server     +----------->     Potter DB        |
+----------------------------+      |      |                           |           |                      |
                                    +----->|                           |           |                      |
                                           +---------------------------+           +----------------------+
The containers we will be running are
- One nginx container
- 2 App servers, one for each tenant
- 2 DB servers, one for each tenant
- Transient containers to run
manage.py migrate
The final docker-compose.yaml
With our architecture decided, our docker-compose.yaml looks like this
version: '3'

services:
  nginx:
    image: nginx:alpine
    volumes:
        - ./nginx.conf:/etc/nginx/nginx.conf
    ports:
        - "8080:80"
    depends_on:
        - thor_web
        - potter_web

  # Thor
  thor_db:
    image: postgres
    environment:
      - POSTGRES_PASSWORD=thor
      - POSTGRES_USER=thor
      - POSTGRES_DB=thor
  thor_web:
    image: agiliq/multi-tenant-demo
    command: python3 manage.py runserver 0.0.0.0:8000
    volumes:
      - .:/code
    depends_on:
      - thor_db
    environment:
      - DATABASE_URL=postgres://thor:thor@thor_db/thor

  thor_migration:
    image: agiliq/multi-tenant-demo
    command: python3 manage.py migrate
    volumes:
      - .:/code
    depends_on:
      - thor_db
    environment:
      - DATABASE_URL=postgres://thor:thor@thor_db/thor

  # Potter
  potter_db:
    image: postgres
    environment:
      - POSTGRES_PASSWORD=potter
      - POSTGRES_USER=potter
      - POSTGRES_DB=potter
  potter_web:
    image: agiliq/multi-tenant-demo
    command: python3 manage.py runserver 0.0.0.0:8000
    volumes:
      - .:/code
    depends_on:
      - potter_db
    environment:
      - DATABASE_URL=postgres://potter:potter@potter_db/potter

  potter_migration:
    image: agiliq/multi-tenant-demo
    command: python3 manage.py migrate
    volumes:
      - .:/code
    depends_on:
      - thor_db
    environment:
      - DATABASE_URL=postgres://potter:potter@potter_db/potter
Let’s look at each of the components in detail.
Nginx
The nginx config in our docker-compose.yaml looks like this,
nginx:
  image: nginx:alpine
  volumes:
      - ./nginx.conf:/etc/nginx/nginx.conf
  ports:
      - "8080:80"
  depends_on:
      - thor_web
      - potter_web
And nginx.conf look like this
events {
    worker_connections  1024;
}

http {
    server {
        server_name  potter.polls.local;
        location / {
            proxy_pass      http://potter_web:8000;
            proxy_set_header Host $host;
            proxy_set_header X-Real-IP $remote_addr;
        }
    }

    server {
        server_name  thor.polls.local;
        location / {
            proxy_pass      http://thor_web:8000;
            proxy_set_header Host $host;
            proxy_set_header X-Real-IP $remote_addr;
        }
    }
}
In our nginx config, we are doing a proxypass to appropriate container,
using proxy_pass http://potter_web:8000;, based on the host header.
We also need to set the Host header, so Django can enforce its ALLOWED_HOSTS.
DB and the App containers
Let’s look at the app containers we have launched for thor. We will launch similar containers for tenants.
thor_db:
  image: postgres
  environment:
    - POSTGRES_PASSWORD=thor
    - POSTGRES_USER=thor
    - POSTGRES_DB=thor
thor_web:
  image: agiliq/multi-tenant-demo
  command: python3 manage.py runserver 0.0.0.0:8000
  volumes:
    - .:/code
  depends_on:
    - thor_db
  environment:
    - DATABASE_URL=postgres://thor:thor@thor_db/thor
We are launching a standard postgres container with customized DB name and credentials. We are then running our Django code and passing the
credentials as DB name to he container using DATABASE_URL environment variable. Our app set the db connection using dj_database_url.config()
which reads from DATABASE_URL.
Running migrations and creating a superuser
We want to run our migrations for each DB as part of the deployment process, we will add container which does this.
thor_migration:
    image: agiliq/multi-tenant-demo
    command: python3 manage.py migrate
    volumes:
      - .:/code
    depends_on:
      - thor_db
    environment:
      - DATABASE_URL=postgres://thor:thor@thor_db/thor
This container will terminate as soon as migrations are done.
We also need to create a superuser. You can do this by docker exec ing to the running app containers.
Do this docker exec -it <containet_name> bash. (You can get the container name by running docker ps). Now you have a bash shell inside the container. Create your superuser in the usual way using manage.py createsuperuser.
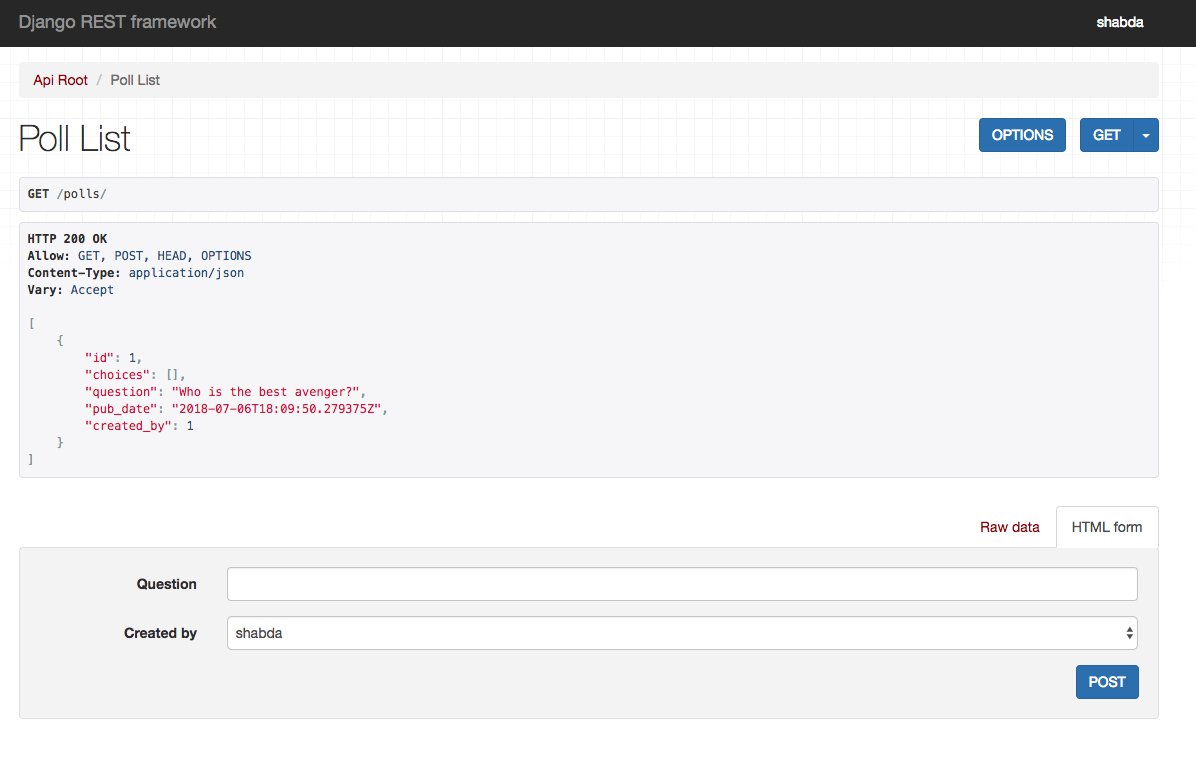
You can now access the thor tenant as thor.polls.local:8080 and potter at potter.polls.local:8080. After adding a Poll, my tenant looks like this.
The code for this chapter is available at https://github.com/agiliq/building-multi-tenant-applications-with-django/tree/master/isolated-docker