Deploy in AWS Fargate
We will deploy a Django app in AWS Fargate and use Aurora serverless as the db.
AWS Fargate lets users build and deploy containerized applications without having to manage the underlying servers themselves.
Fargate is a compute engine that allows running containers in Amazon ECS without needing to manage the EC2 servers for cluster. We only deploy our Docker applications and set the scaling rules for it. Fargate is an execution method from ECS.
With AWS Fargate, we pay only for the amount of vCPU and memory resources that our containerized application requests ie We pay only for what we use.
Docker is a tool designed to make it easier to create, deploy, and run applications by using containers. Containers allow us to package up an application with all of the parts it needs, like libraries and other dependencies, and ship it all out as one package.
And Aurora Serverless is an on-demand, auto-scaling Relational Database System by Amazon AWS(presently compatible with only MySQL). It automatically starts up & shuts down the DB depending on the requirement.
Prerequisites: AWS account and configure the system with aws credentials & aws-cli and Docker in the system.
Go to Django app
We will use Pollsapi (https://github.com/agiliq/building-api-django) as the django project.
Now go inside the pollsapi app in this repo.
Let us create a virtual environment and install the requirement.txt
$ pip install -r requirements.txt
and in polls/settings.py add aws subdomain to the ‘ALLOWED_HOSTS’
...
ALLOWED_HOSTS = ["*"]  # for all domains - only for development
...
And run the application
$ ./manage.py runserver
which will show us
Build the application using Docker
Now lets now containerize our application using Docker. Let us create a
file named Dockerfile in the pollsapi folder and in the same level
as manage.py .
$ touch Dockerfile
and add the following lines
In this Dockerfile, we install Python and our application and then specify how we want to run our application in the container.
Let us Build the Docker container for our pollsapi app
$ docker build -t pollsapi-app .
The docker build command builds Docker images from a Dockerfile. We
will run the container we created in the previous step.
$ docker run -p 8800:8800 -t pollsapi-app
February 19, 2019 - 13:22:46
Django version 2.0.3, using settings 'pollsapi.settings'
Starting development server at http://0.0.0.0:8800/
Quit the server with CONTROL-C.
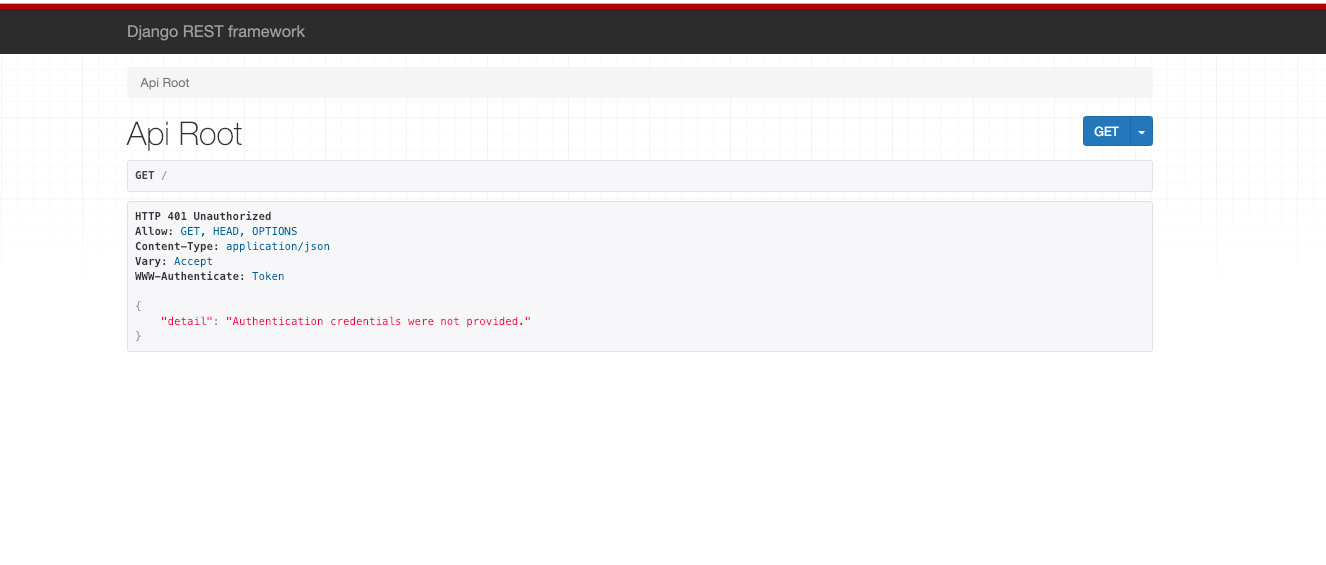
now when we go to the url 0.0.0.0:8800, we will see
Deploying our application using AWS Fargate
Here, we will deploy our container to Amazon’s Elastic Container Repository (ECR) and then launch the application using Fargate.
Create a new repository in ECR
Run the following command to create a new repository for the application:
$ aws ecr create-repository --repository-name pollsapi-app --region us-east-1
If the command is successful, we should see:
{
    "repository": {
        "repositoryArn": "arn:aws:ecr:us-east-1:822502757923:repository/pollsapi-app",
        "registryId": "822502757923",
        "repositoryName": "pollsapi-app",
        "repositoryUri": "822502757923.dkr.ecr.us-east-1.amazonaws.com/pollsapi-app",
        "createdAt": 1550555101.0
    }
}
This will create a repository by name pollsapi-app in AWS
ECR
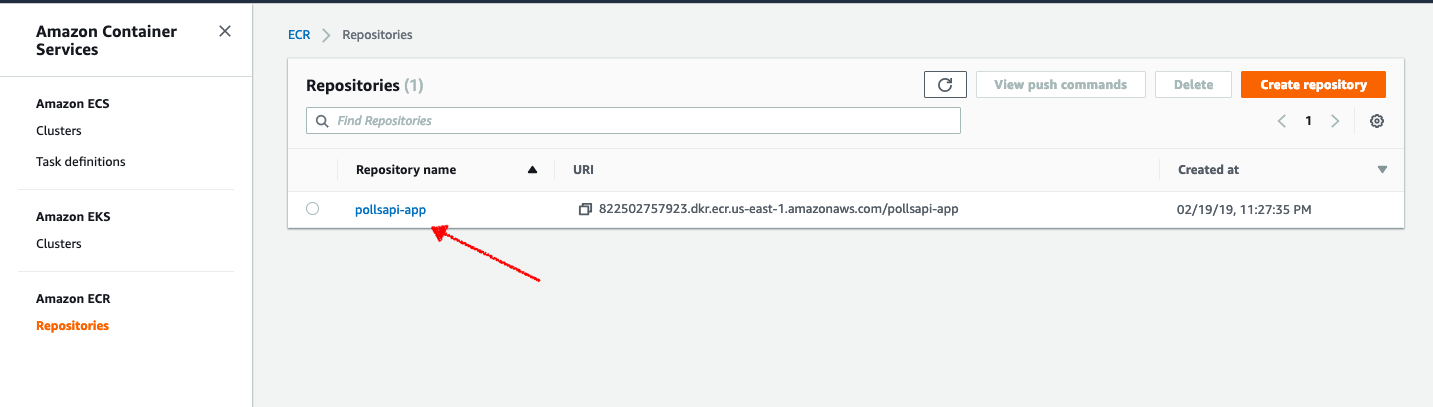
Now click on the repository name and go inside
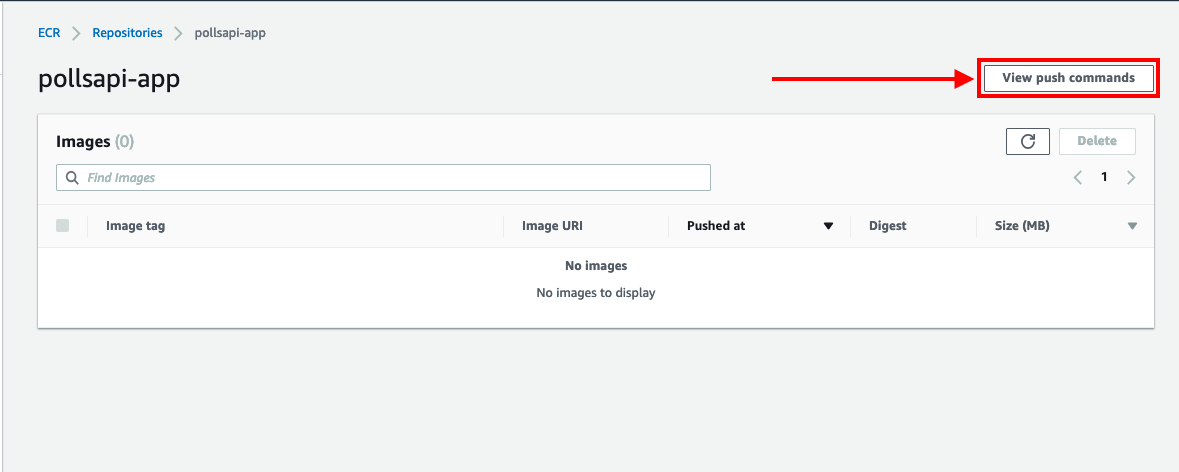
we will see that we have no image here, click on Push Commands to
get a list of commands that we need to run to be able to push our image
to ECR. Follow the steps as they are given.
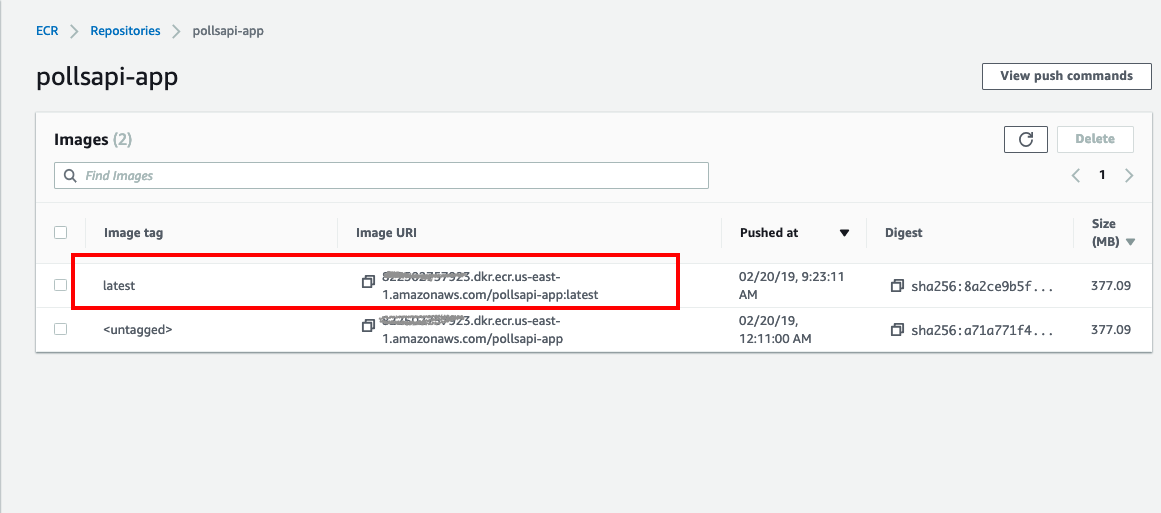
Now we have pushed our image in ECR.
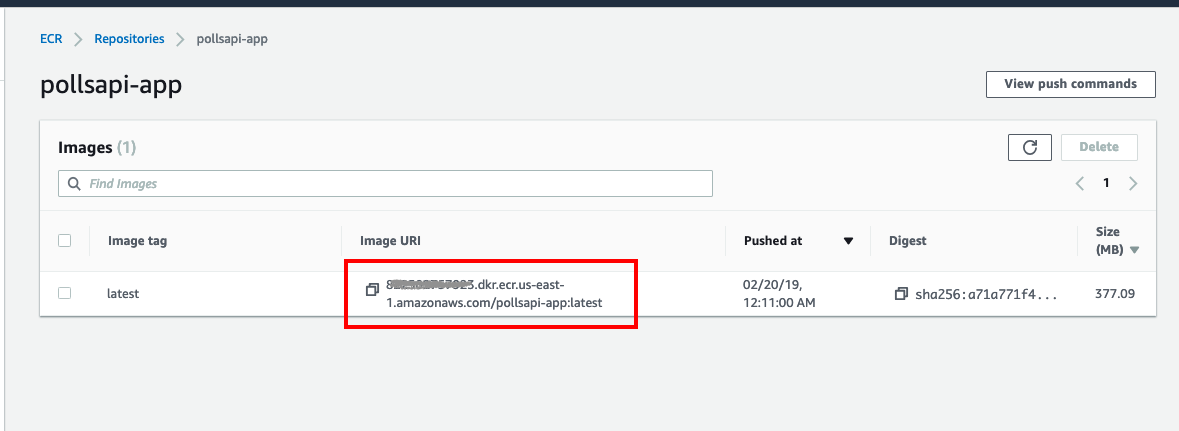
After pushing the image, we can see the image-url
Create Fargate Application
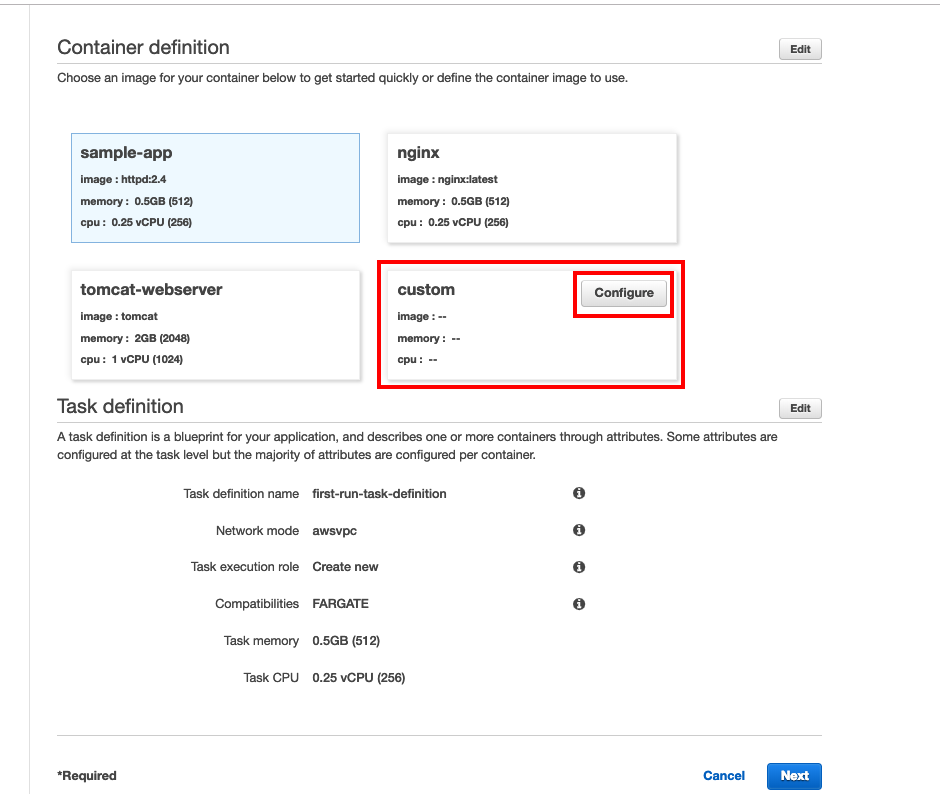
Now, let us go to the link https://console.aws.amazon.com/ecs/home?region=us-east-1#/getStarted and create a new Fargate Application. Click on Get Started.
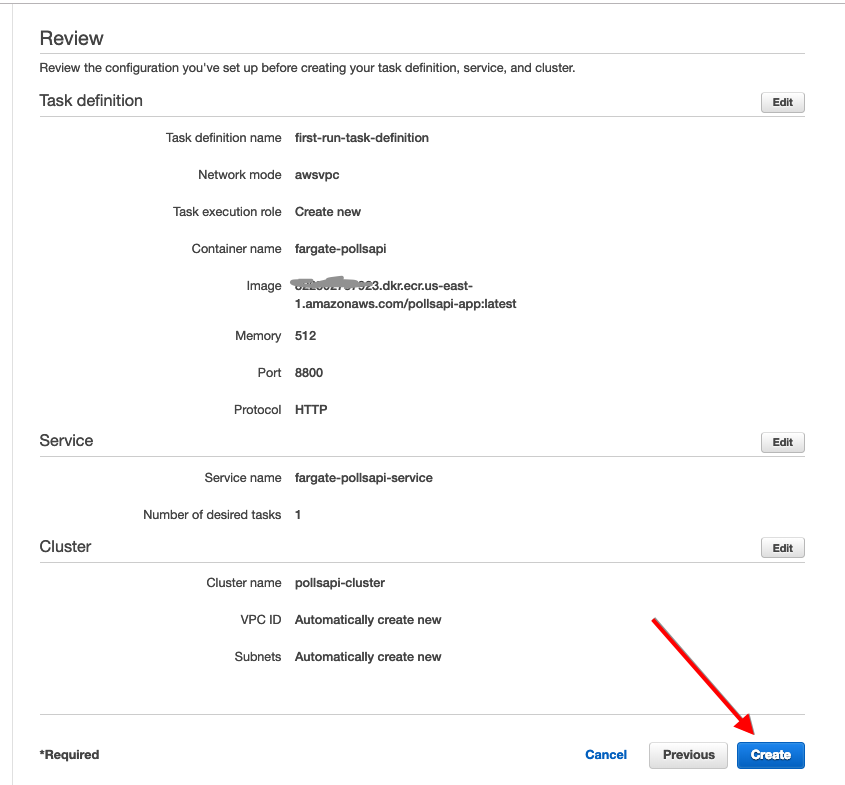
Now select under the container definition choose Custom and click on Configure.
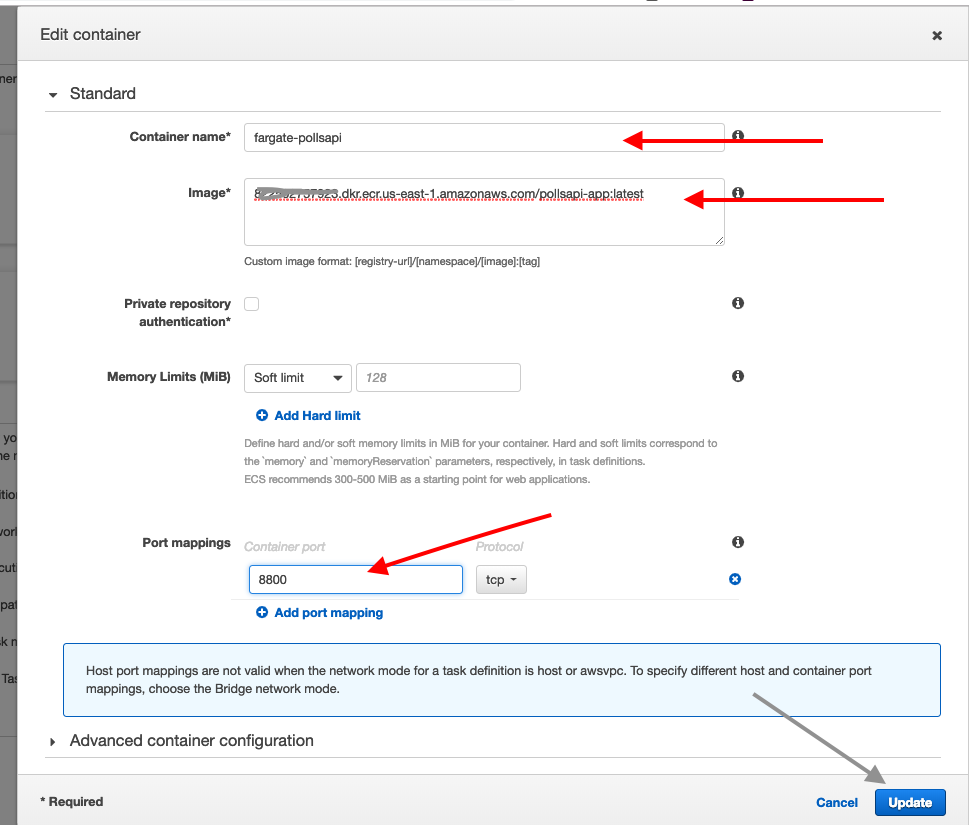
In the popup, enter a name for the container and add the URL to the container image. We should be able to get the URL from ECR. The format of the URL should be similar to the one listed below.
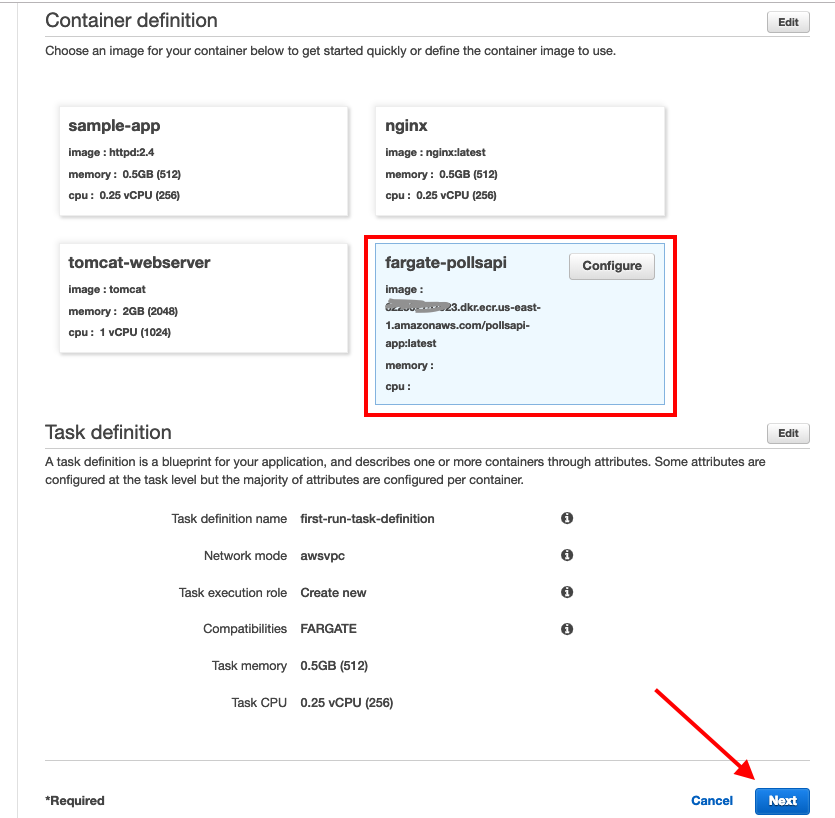
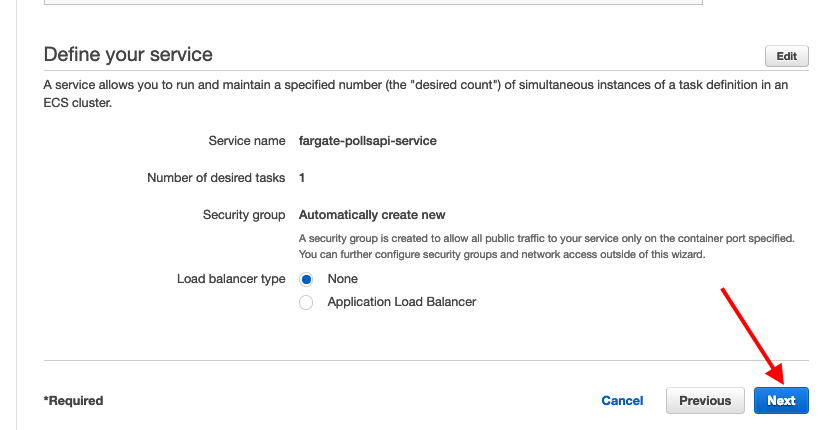
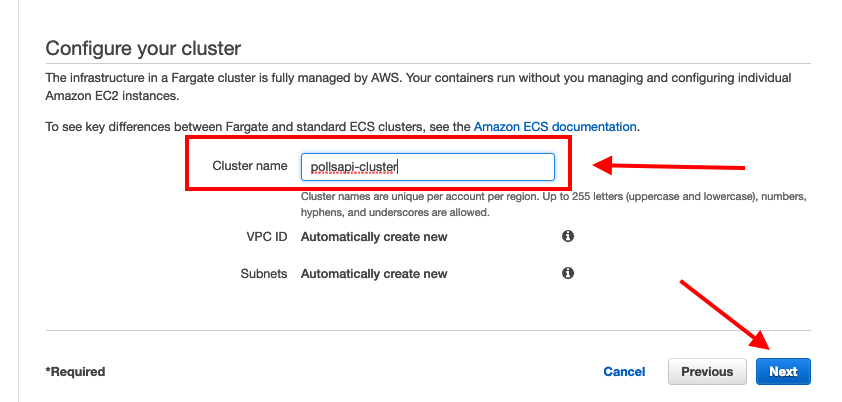 In the cluster section, give the cluster name.
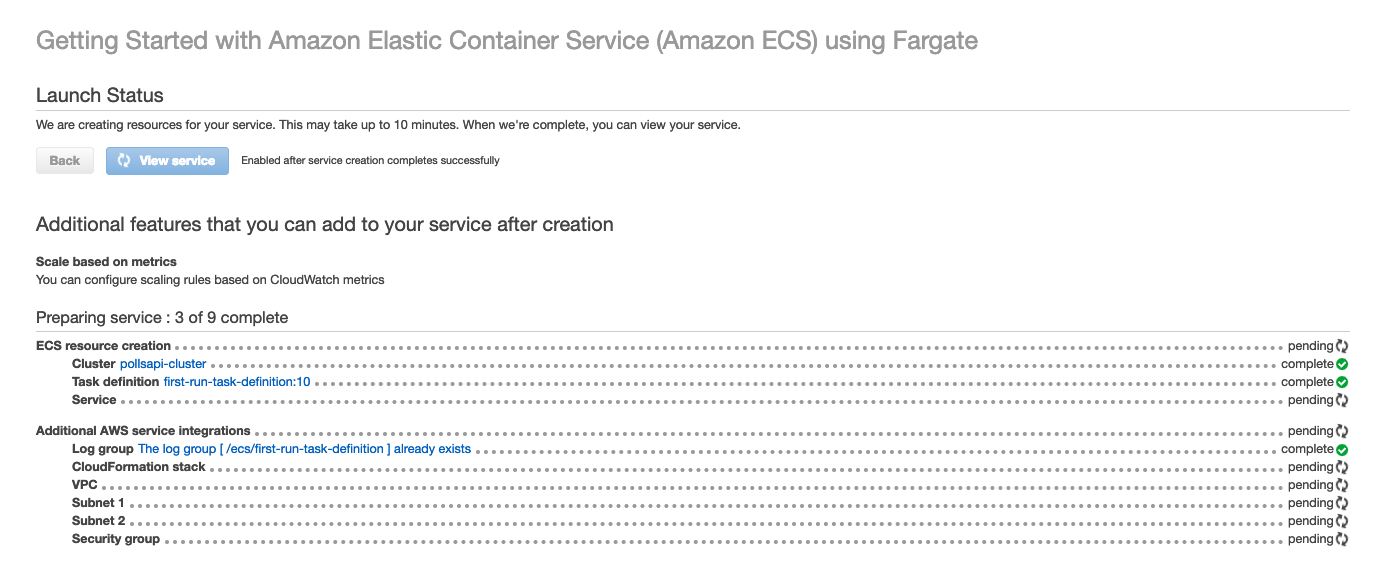
Now we can see the status of the service we just created. Wait for the
steps to complete and then click on View Service.
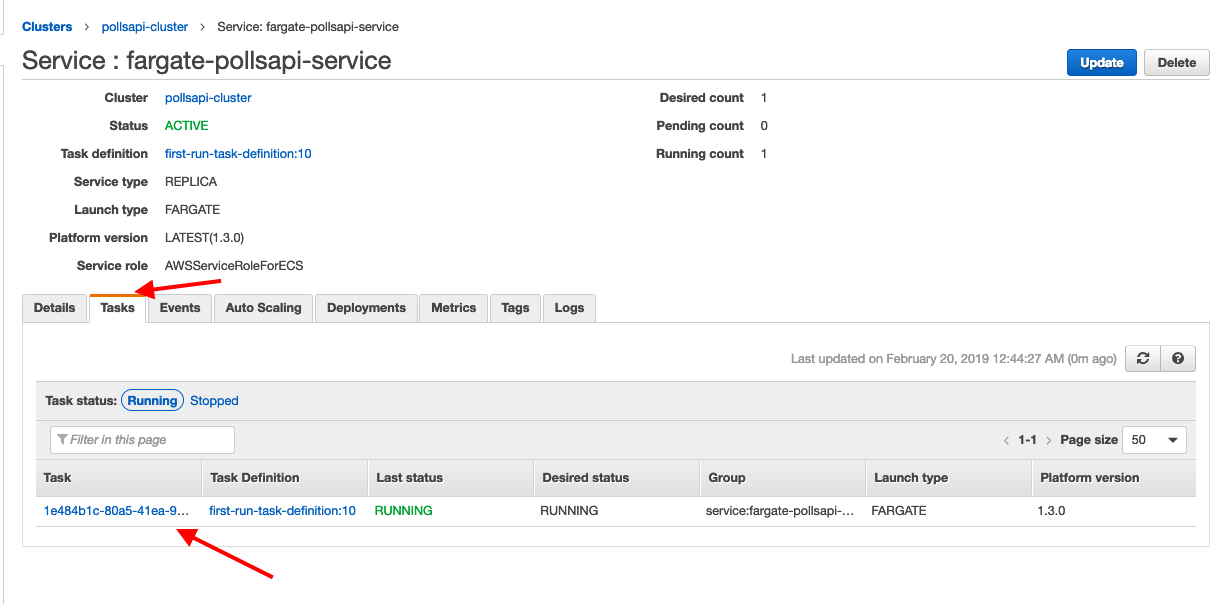
Once on the services page, click on the Tasks tab to see the different tasks running for our application. Click on the task id.
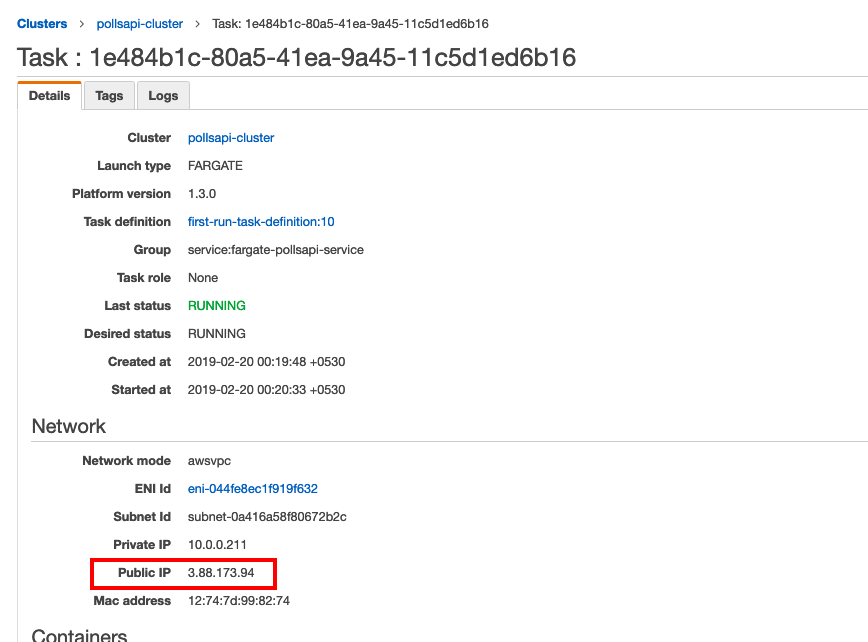
Now let us go to the url in the public-ip with the port
http://3.88.173.94:8800, we can see
to check logs we have to go to the logs tab in the services page
Now let us create an Aurora Serverless to link it with
Setup Serverless MySQL Database
To set up Aurora serverless DB follow https://www.agiliq.com/blog/2019/01/complete-serverless-django/#setup-serverless-mysql-database
Connect Our App to MySQL DB
While creating Aurora-serverless make sure that Fargate and Aurora are in same VPC
To connect our Django App to aurora db, follow https://www.agiliq.com/blog/2019/01/complete-serverless-django/#connect-django-to-mysql-db
After configuring our settings.py file should have a similar
database config
...

DATABASES = {
    'default': {
        'ENGINE': 'django.db.backends.mysql',
        'NAME': 'pollsdb', # dbname
        'USER': 'polls_admin', # master username
        'PASSWORD': 'pollsadmin', # master password
        'HOST': 'pollsapi-cluster.cluster-chcxxxxx.us-east-2.rds.amazonaws.com', # Endpoint
        'PORT': '3306',
    }
}
...
Update Security Group Endpoint
Update Security Group Endpoint of Aurora and add Security Group of Fargate in the inbound rules, follow https://www.agiliq.com/blog/2019/01/complete-serverless-django/#update-security-group-endpoint
Setup the Database
We will write a command to create the database. To setup the database follow,
$ cd polls
$ mkdir management
$ cd management
$ touch __init__.py
$ mkdir commands
$ cd commands
$ touch __init__.py
$ touch create_db.py
# polls/management/commands/create_db.py
import sys
import logging
import MySQLdb

from django.core.management.base import BaseCommand, CommandError
from django.conf import settings

rds_host = 'pollsapi-cluster.cluster-chc62yjp918f.us-east-2.rds.amazonaws.com'
db_name = 'pollsdb'
user_name = 'polls_admin'
password = 'pollsadmin'
port = 3306

logger = logging.getLogger()
logger.setLevel(logging.INFO)


class Command(BaseCommand):
    help = 'Creates the initial database'

    def handle(self, *args, **options):
        print('Starting db creation')
        try:
            db = MySQLdb.connect(host=rds_host, user=user_name,
                                 password=password, db="mysql", connect_timeout=5)
            c = db.cursor()
            print("connected to db server")
            c.execute("""CREATE DATABASE pollsdb;""")
            c.execute(
                """GRANT ALL PRIVILEGES ON db_name.* TO 'polls_admin' IDENTIFIED BY 'pollsadmin';""")
            c.close()
            print("closed db connection")
        except:
            logger.error(
                "ERROR: Unexpected error: Could not connect to MySql instance.")
            sys.exit()
Now let us create another command to create admin, follow
$ cd polls
$ mkdir management
$ cd management
$ touch __init__.py
$ mkdir commands
$ cd commands
$ touch __init__.py
$ touch create_admin_user.py
# polls/management/commands/create_admin_user.py
import sys
import logging

from django.core.management.base import BaseCommand, CommandError
from django.contrib.auth.models import User
from django.conf import settings


class Command(BaseCommand):
    help = 'Creates the initial admin user'

    def handle(self, *args, **options):
        if User.objects.filter(username="admin").exists():
            print("admin exists")
        else:
            u = User(username='admin')
            u.set_password('adminpass')
            u.is_superuser = True
            u.is_staff = True
            u.save()
            print("admin created")
        sys.exit()
this command will create the admin user if it does not exists
Now next create a shell script file with name start.sh, and write
the following
$ touch start.sh
#!/bin/sh
python manage.py create_db
python manage.py migrate
python manage.py create_admin_user
python manage.py runserver 0.0.0.0:8800
exec "$@"
And give it permissions
$ chmod +x start.sh
And Now update the Dockerfile
Now lets push the updated container image to ECS by following the
Push Commands.
With Fargate, our containers are always started with the latest ECS image and Docker version.
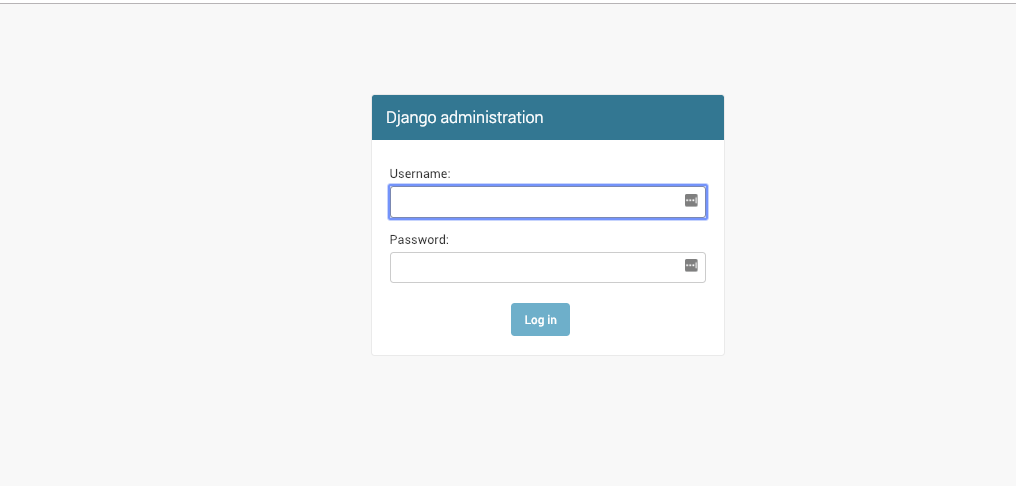
Let us go to the http://3.88.173.94:8800/admin, we can see Now we
can see that we can login and that our Database connection is
established fine.
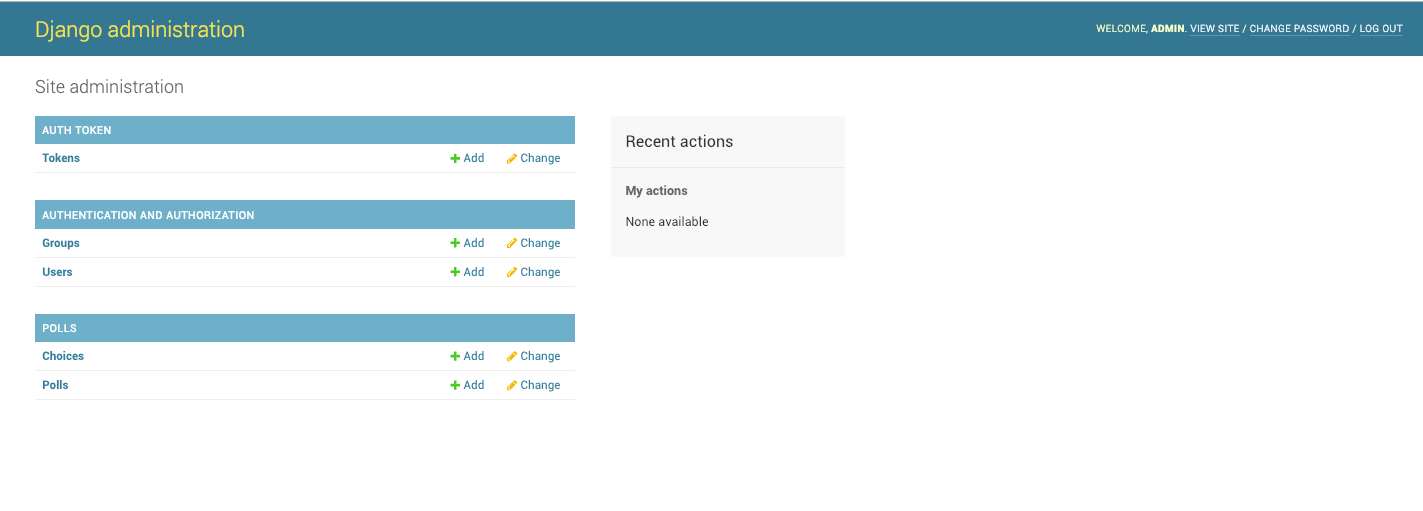
Now our Django app is running in AWS Fargate and used Aurora Serverless as the DB.